


21
Mar
Jeweled Spring Container
I’ve been working on Spring containers for miniature gardens! This one is inspired by faceted gems and flowers in gorgeous spring colors.
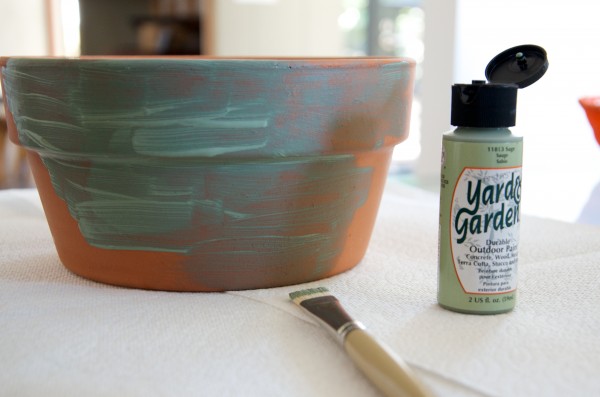
Use Yard & Patio acrylic paints on a terra cotta bulb pot (low and wide enough for the right “landscape†look). I used a Sage Green to be a background color to my colorful spring flowers.

To make it easier, I squeeze paint right on the pot and then spread it with a wide brush. You’ll need 2-3 layers to make it opaque. It dries very quickly between layers because it’s absorbed by the clay pot. 
Next I sorted my plastic “gems†so I knew what I was working with. These can be purchased at the craft store and an assortment like this will run you less than $10 (on sale).
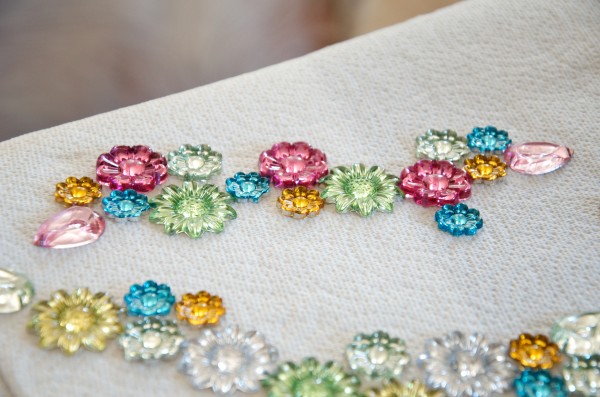
Now it was time to figure out a palette and layout. I thought about the banded rim of the pot, and what I’d put there first. I chose colors that represented spring and went together.
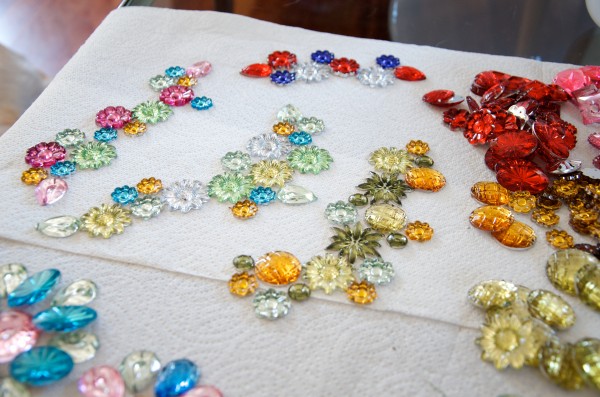
Some other color and design explorations (including one I may use for summer picnics at the top).
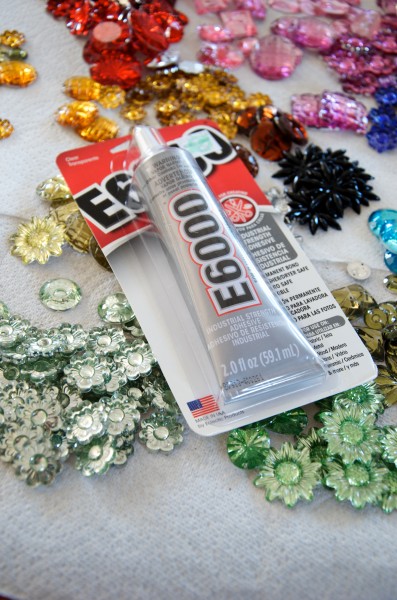
Unfortunately, at the craft store where I was shopping, they put this glue on the endcap with the plastic “gems†– and it ruins the silver on the back of them (see below). So I’d recommend that you choose a different adhesive.
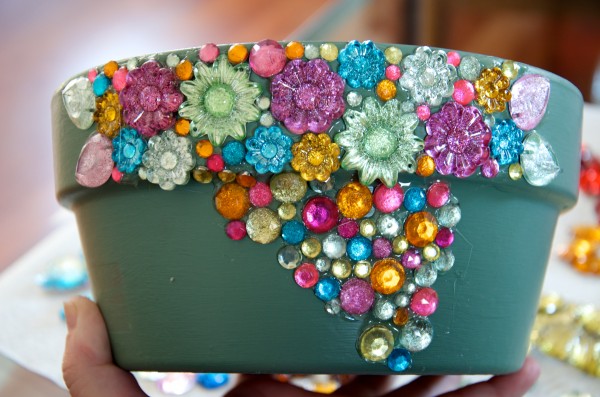
I started by placing the flowers on the band just as I had them laid out on the table. I filled in with simple round faceted gems of difference sizes, in similar colors. Then I started to do just round gems on the bottom of the pot.
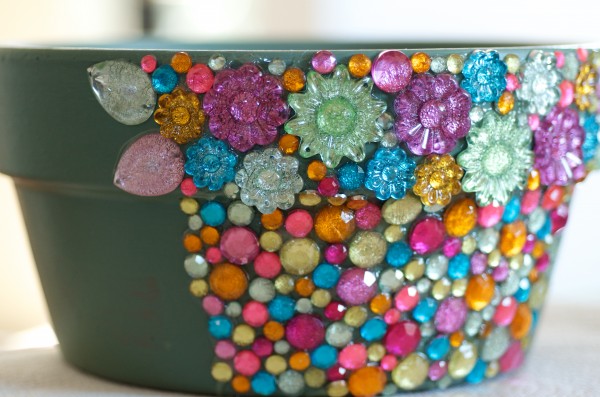
I stopped going all the way around the pot when I noticed the backs of the silver gems were “decomposing†and that made them look less faceted because the light couldn’t reflect evenly. It’s still a sparkly effect, just not what I was expecting or hoping for.
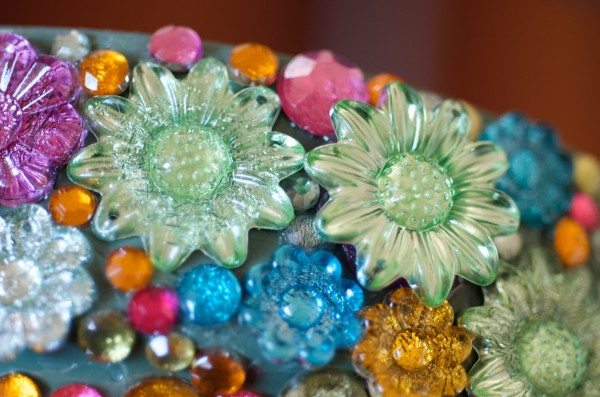
Here’s a glued green flower (left) next to an unglued green flower (right). In that smaller gold flower at the bottom, you can really see how the glue breaks down the silver backing of these “gems.â€
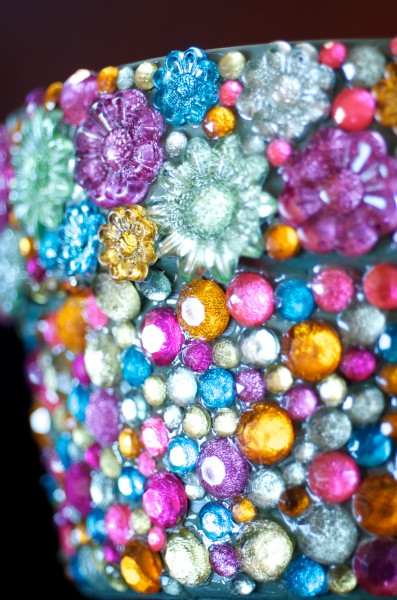
In a certain light, this pot still shines and you can see some of the facets, but not all. Especially on the round gems on the bottom of the pot, which now look like speckly bulbous baubles. The store never should have put that glue next to these items, as if they can be used together. Let my cautionary tale be your guide. E6000 is a great glue for gluing seashells to pots, so I’ll continue to use it for that.


Hi!
Thanks so much for the inspiration!!! I did this with glass stones instead…it turned out beautifully :o)
Love Glitter, I like this idea and I’m going to try it by incorporating Large Glitter.. Fun!!
hello, i live in holland and i am searching for the beautiful plastic gems. can you tell me where you bought these?
Maybe on the internet?
Thanks very much.
I got them at the local craft store.
Did you find a better glue?
I haven’t tried this technique again since I made this one.
What if you painted the pot silver, soso when the silver on the back of the gem decomposes the silver from the pot will show through. What do you think. I am going to try it. I think metal spray paint should work.